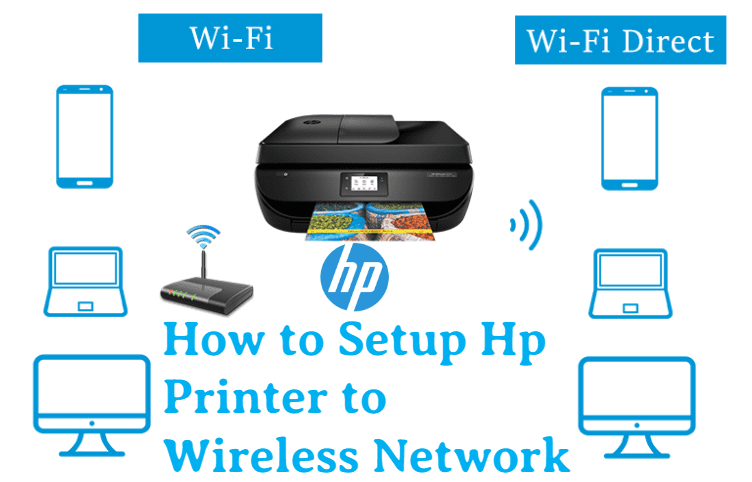
We can see how to connect your hp printer to the wireless network in a simple way. By connecting your Hp printer to the wireless printer you can easily print the documents without connecting it to the wired network such a USB cable and wire. All the hp printers are not supported by the wireless network. Hence choose the printer that is compatible with the wireless network to set up the wireless network.
To set up the hp printer to the wireless network, two different methods can be followed. In this article, we can see the two different methods for how to set up HP printer to Wi-Fi in detail.
Setting up the hp printer to the wireless network automatically:
In this topic, we can see how to set up hp printer to the wifi easily by following the steps provided below:
-
Before connecting to the wireless network, first, check the basic requirements of your computer and network. The basic requirements are

-
Your computer must have any one of the software such as windows vista or later, OS X 10.5 or later.
-
Check whether your computer is connected to an 802.11b/g/n wireless router over a 2.4 GHz connection. The 5.0 GHz connection is not supported by the HP printer.
-
The operating system of the computer must be in the control of the wireless network.
-
The dynamic IP address must be used by your computer instead of the static IP address.
- In the browser type https://support.hp.com/us-en/drivers/ in the search box and then type your printer model. After providing the details of your printer click on the find button and then download the software.
-
By double-clicking the software icon, it opens the printer setup process.
-
Switch ON the printer and check if the wireless option is supported by your printer. If it is compatible then start the process of connecting the printer. The settings you have made in the printer will retain only for the two hours.
-
Then follow the instruction provided on the screen of your computer until you reach the network screen. Because the steps and instruction provided will vary depending on the version of your HP printer.
-
Then select the network (Ethernet / wireless) button which appears on the middle of the page.
-
After entering into the network screen, click on the button named yes, send my wireless settings to the printer.
-
By clicking this button, it helps to locate your printer and it will send your wireless network’s information over the printer.
-
After completing the above steps, wait for few minutes until your printer is connected. Once the printer is connected the confirmation message will be displayed on the screen.
-
Finally, complete the setup process by following the on-screen instructions provided on the screen. Once the process is completed will be allowed to use your printer.
-
Check whether your printer connected successfully by printing the sample documents and photos by means of a wireless network.
These are the steps you need to follow to set up the hp printer over the wireless network easily without any complicated steps.
Setting up the hp printer on the wireless network manually:


In this topic, we can see how to set up hp printer to wifi using the manual method. The steps involved in this method are:
-
Before starting the process of setting up the hp printer manually, check whether the printer is installed on your computer. If not installed install it by connecting the USB cable between the computer and the printer. It will automatically install the printer software using the installation CD’s given with printer.


-
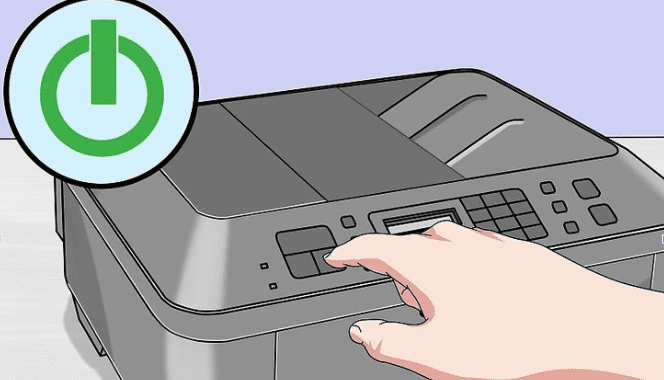
Turn ON the printer by connecting the printer to the power source and then press the power button.


-
After that, if necessary activate the touch screen. Some printers have the touch screen connected with the printer itself. In case you are having the touch screen on your printer, you need to connect your printer to the wireless network. If you have installed the software, you need to uninstall it in order to connect to the wireless network.


-
Then select the setup button on the screen. In order to find the setup button, you need to scroll down.
-
You may also have an option to select the wireless connection instead of the setup button.
-
And you need to select the network button in order to open the wireless settings on the printer’s screen.
-
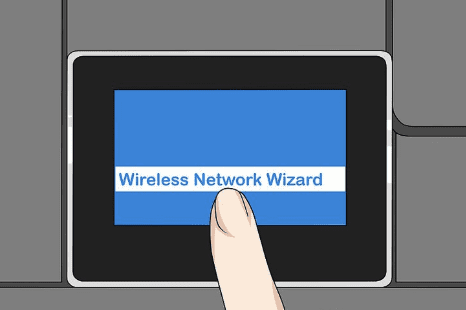
Select the button wireless network wizard that appears on the screen. This helps you to search the wireless network to connect your printer. You can also select the wireless setup wizard instead of the above-mentioned button.
-
After that you need to select the network name and this name should be same as the name of the wireless network which you have assigned while creation of the wireless network.
-
There are two methods to select the network name if it does not appear on the screen
-
Then you should enter the password that you use to login to your wireless network. If not press on the WPS button and hold it for three seconds.
-
Select the done button on the screen in order to save your information. After this, your printer will attempt to connect to the network.
-
And then click Ok. This will help you to complete the setup process easier.
These are the steps you need to follow to set up the connection of your hp printer to the wifi manually.
Conclusion:
By using the steps provided in this article you can easily connect your hp printer to the wireless network easily both automatically and manually. If you face any problems regarding the process of connection you can see in the given website and contact the technical support team of hp printer.
