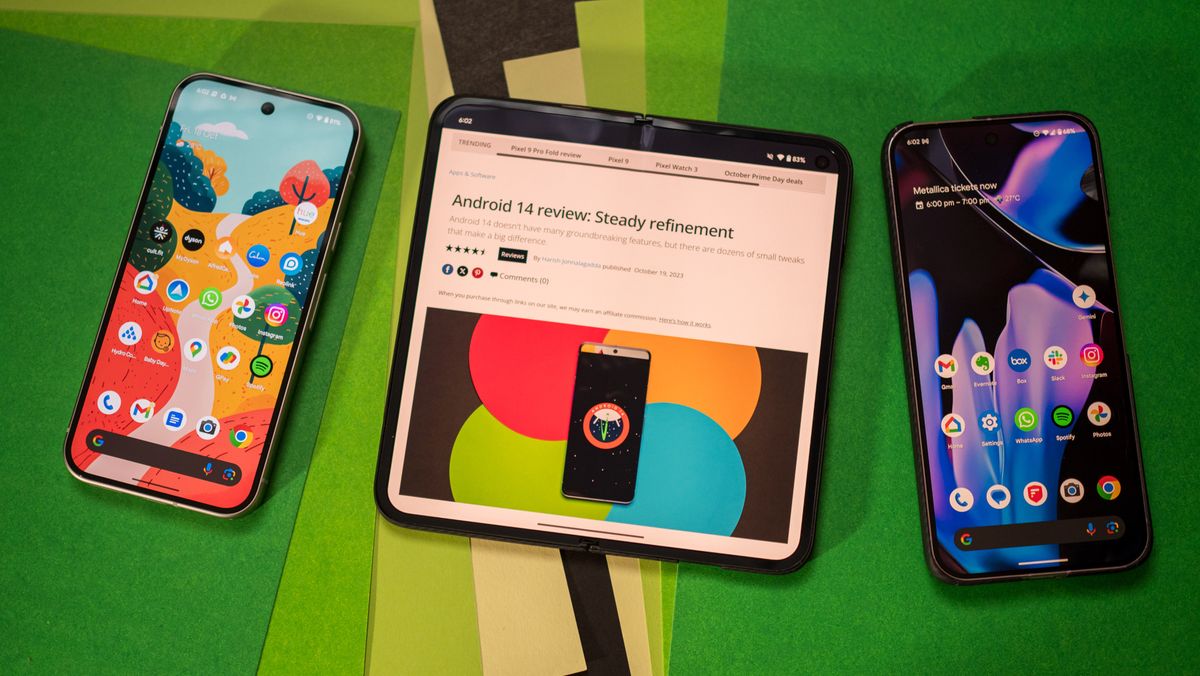
When you finally upgrade to a new Android phone, it’s not the end of the journey — it’s the beginning. The great thing about the best Android phones is that they’re incredibly customizable. You can change almost everything to match your preferences, remove unwanted apps, and make your device better for productivity.
And especially as we have tons of Black Friday deals on phones, you might get your hands on a brand new one and not know where to start with your new phone.
It’s easy to feel overwhelmed by all the options available in Android 15, and that’s why we’ve created this guide, highlighting 10 things to do first as you get started.
Whether you’re upgrading to a new Android phone from an older device or an iPhone, these are the top things to do to make this new device your own. While every Android manufacturer offers slightly different options and settings, the items included here should apply to most (if not all) devices. Let’s get started.
1. Uninstall unwanted apps
An unfortunate part of owning an Android phone is dealing with bloatware, which is simply a term use to refer to all the unwanted or unneeded apps that are pre-installed on your smartphone. Your phone manufacturer may include bloatware apps; Samsung phones often ship with duplicate apps (like Samsung Messages and Google Messages) and mobile games pre-installed. Additionally, your cellular carrier may pre-install apps on your phone, usually all in their own folder — AT&T is notorious for doing this.
Unnecessary apps can slow down your phone and take up valuable storage space. Some of them are glorified advertisements, plain and simple. To remove them all, open the Settings app on your Android phone and tap the Apps tab. This will bring up your entire apps list, and you can select each one to Delete or Disable them individually. Note that some apps can’t be deleted, and can only be disabled.
2. Customize your Quick Settings
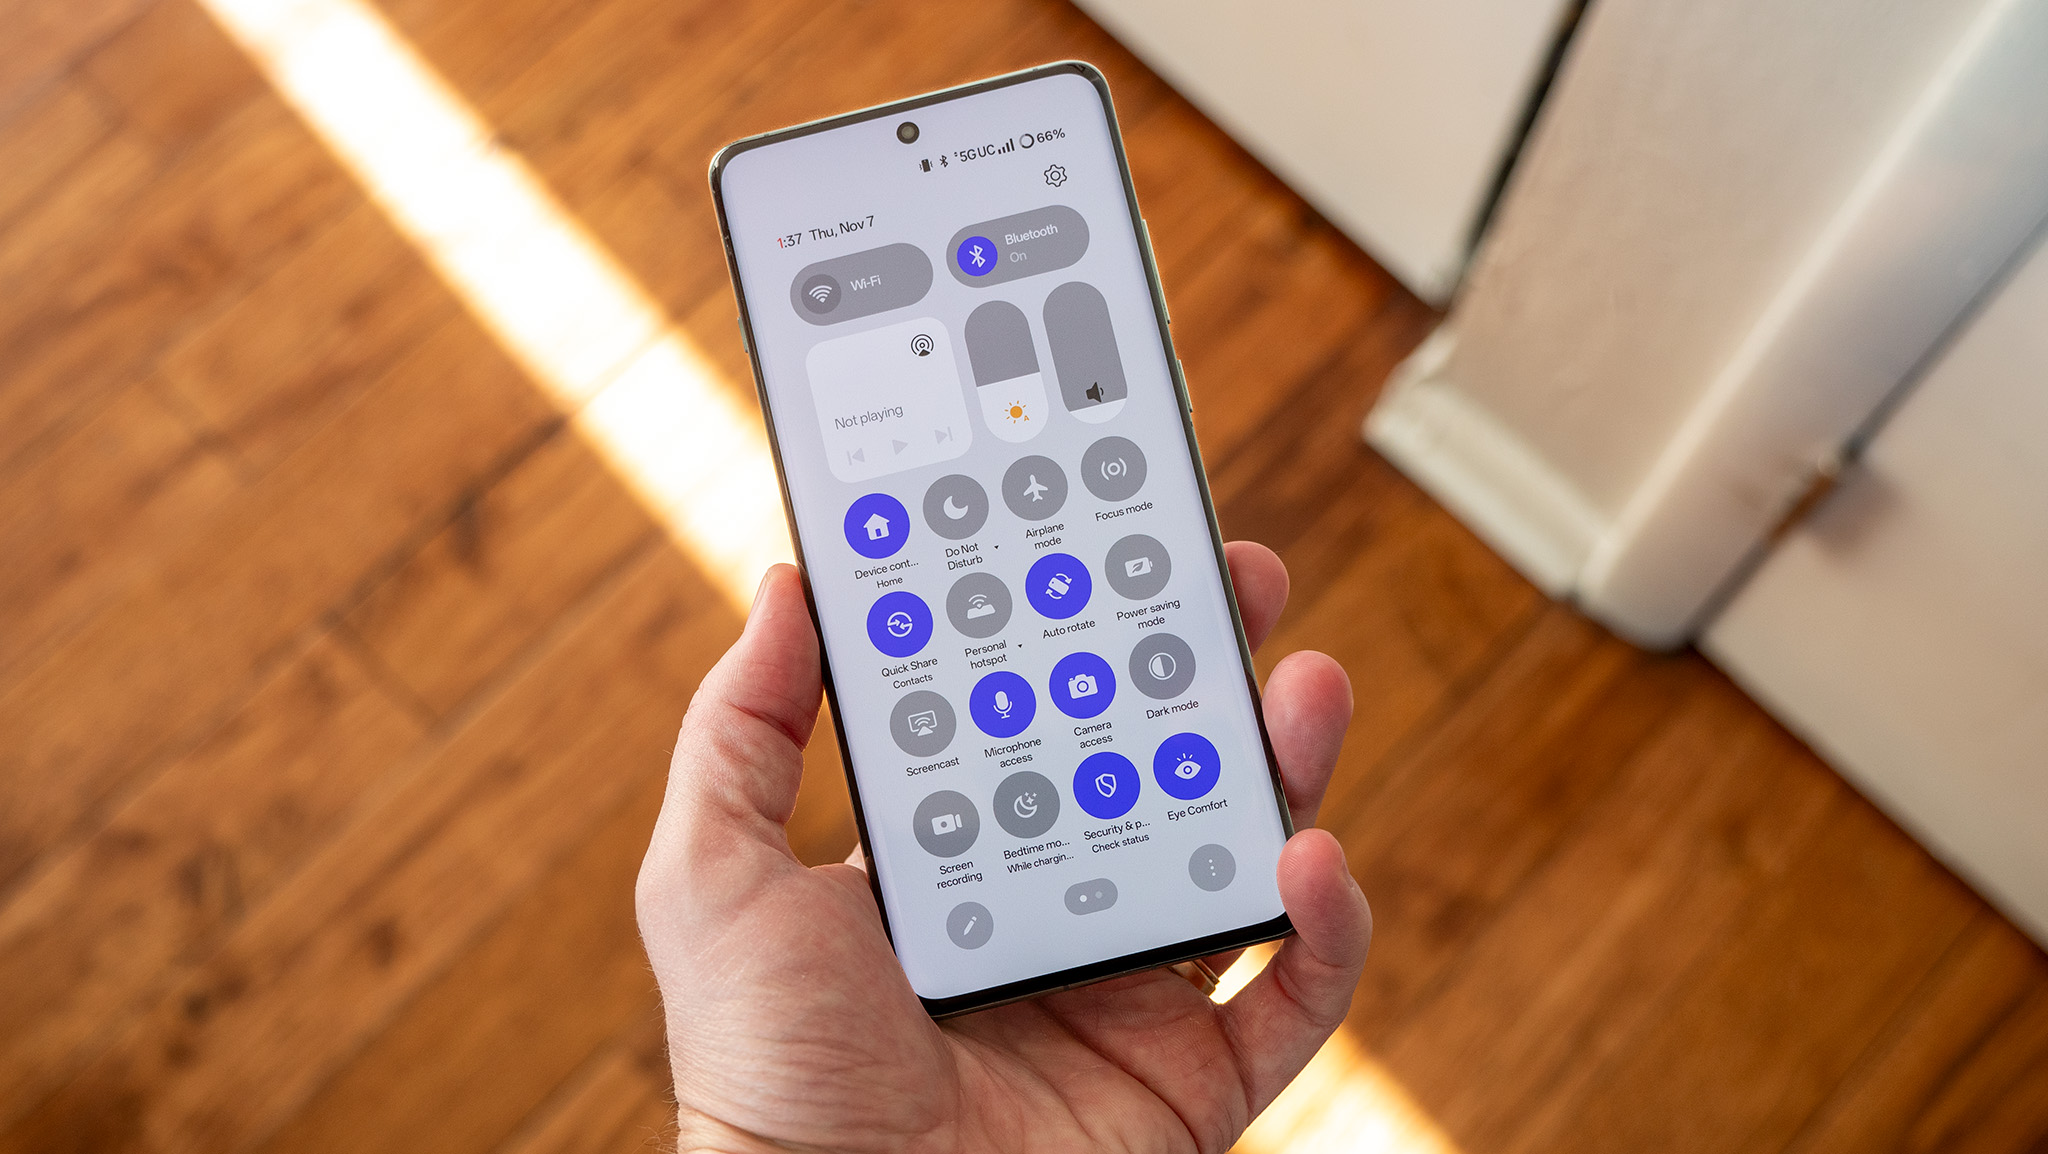
If you want to excel at using your new Android phone, you’ll need to know how to use Quick Settings. That’s the name for the collection of quick toggles and shortcuts that become available when you swipe down from the top of your screen. These toggles are arranged in a default order and span two pages, but it’s a good idea to reorder them to match your specific needs. To do so, open the Quick Settings page and tap the pencil icon. Here, you can edit your Quick Settings to make it more useful to you.
3. Choose between gesture or button navigation
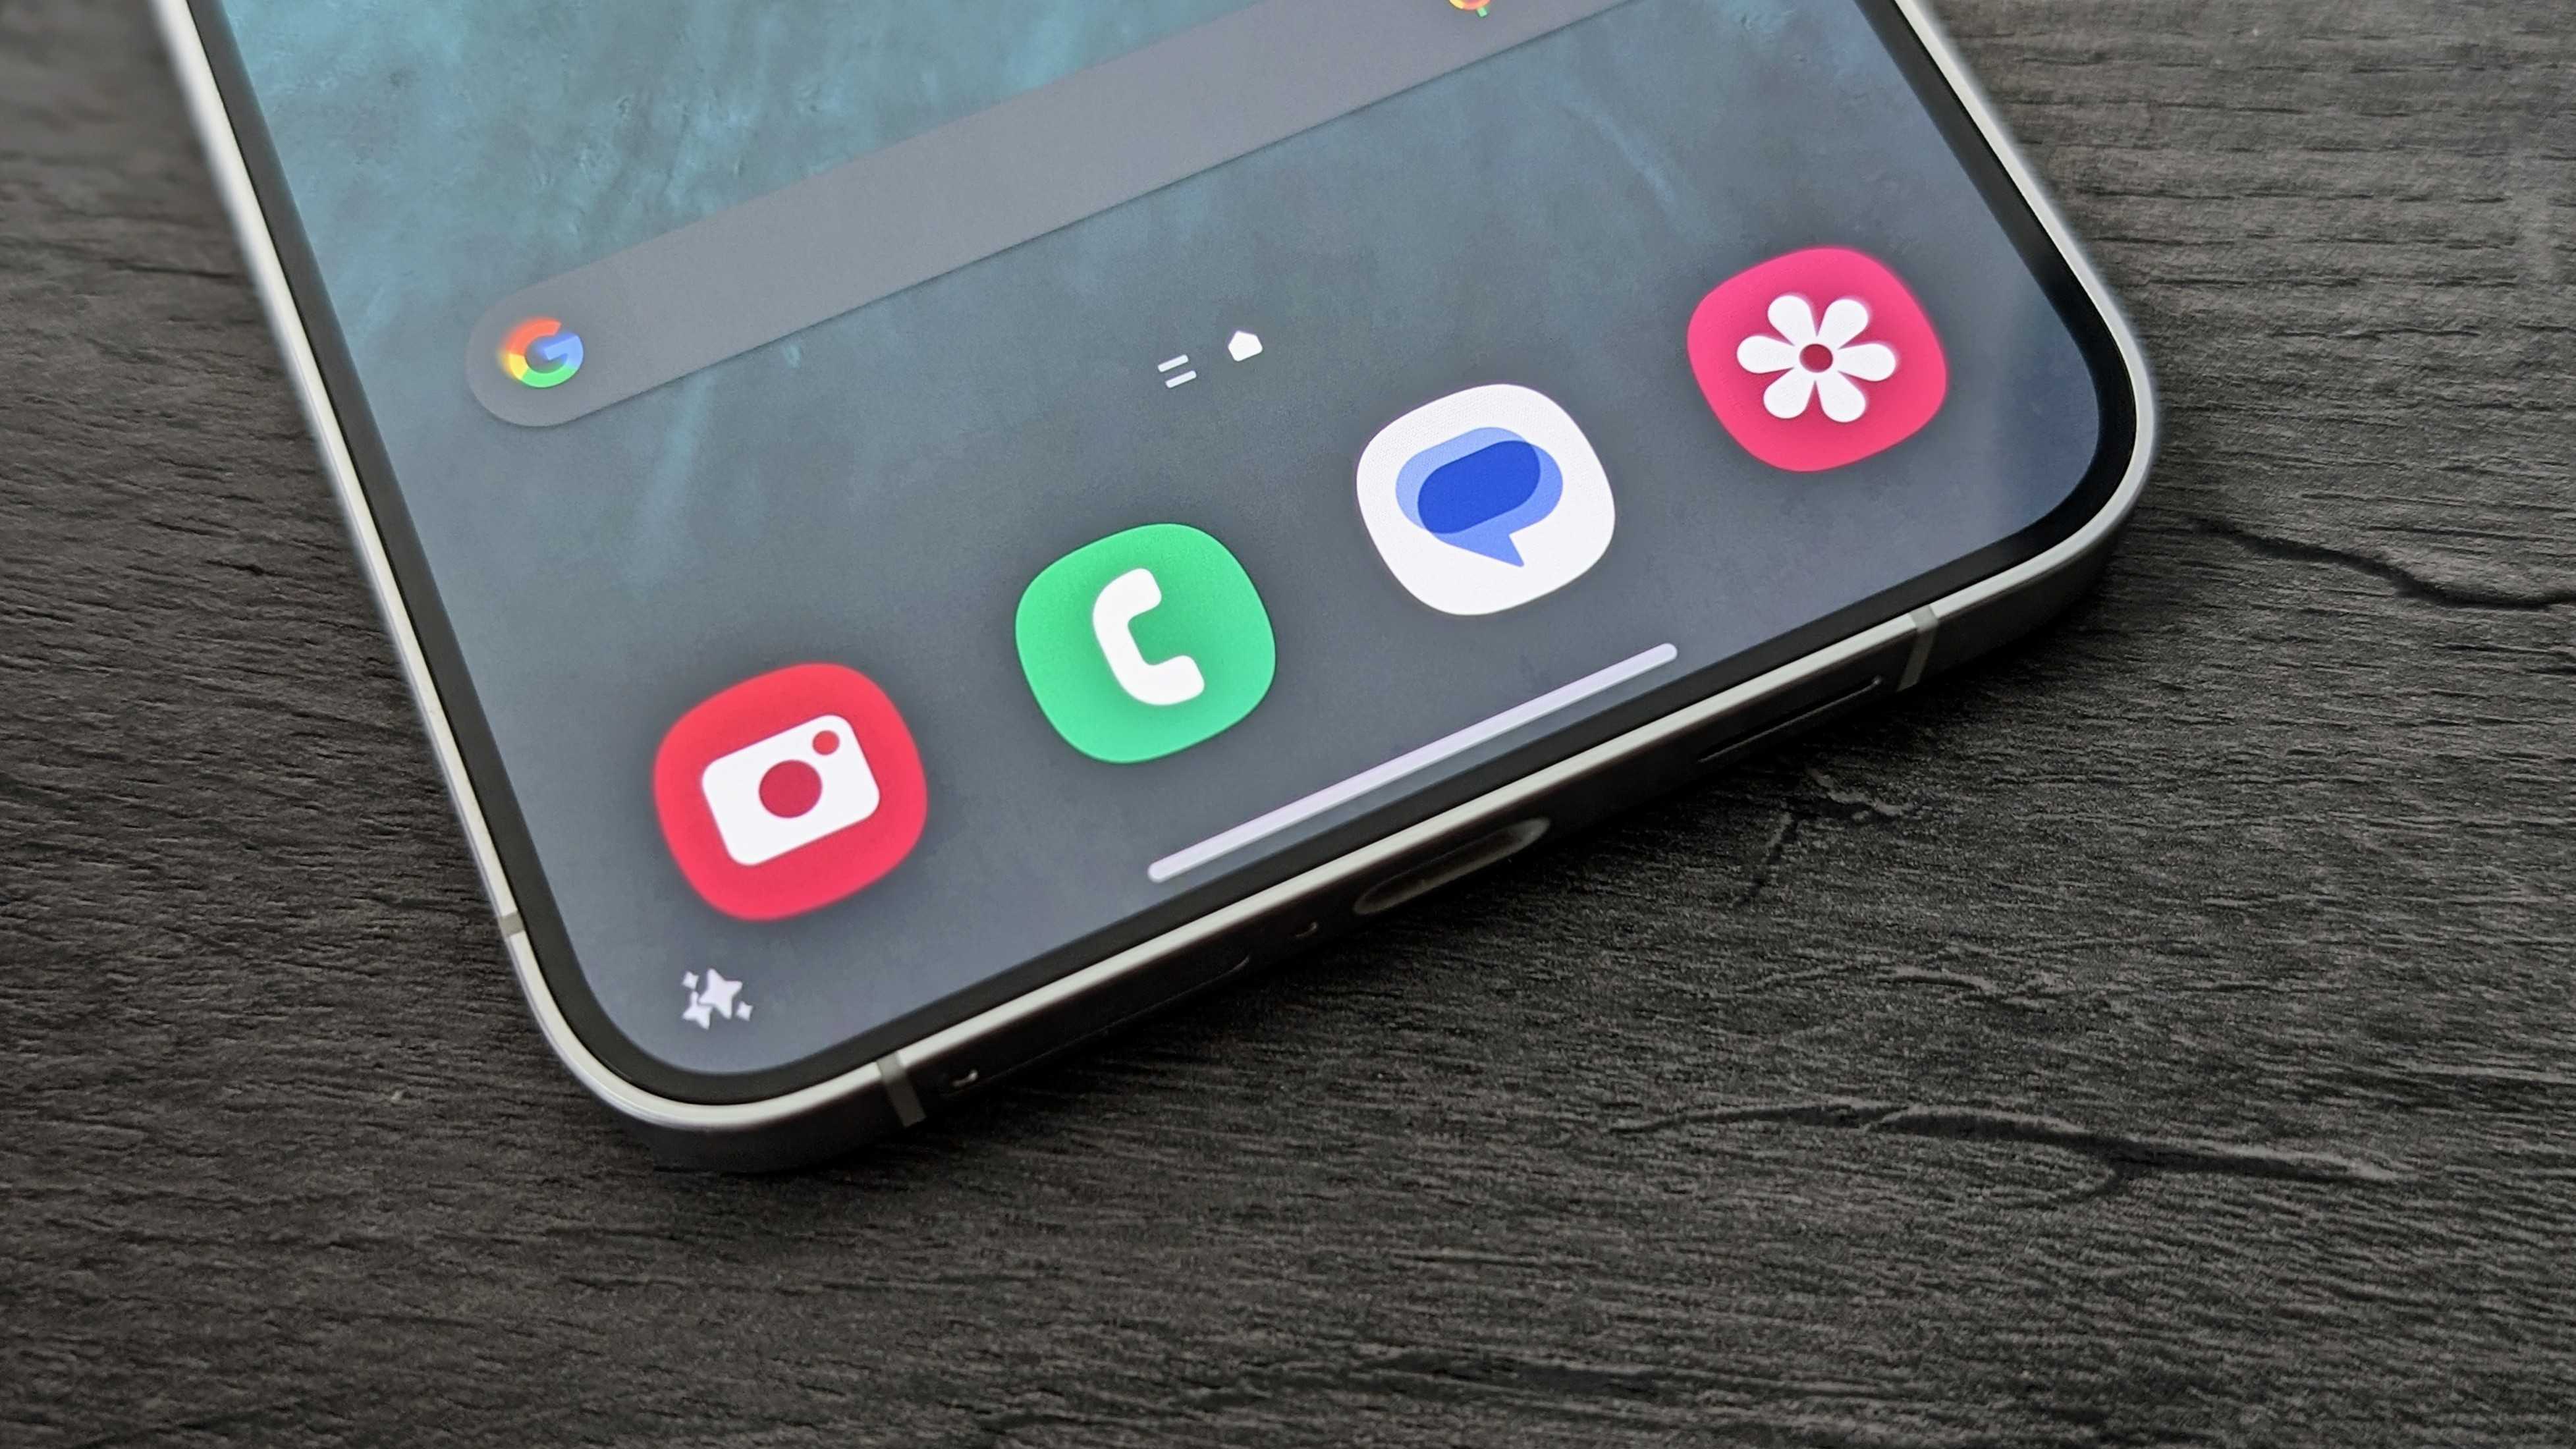
The new Android debate: three-button navigation or gesture navigation? Though many longtime Android fans still have an affinity with three-button navigation, which adds a persistent back button, home button, and app switcher button, most people have moved to gesture navigation. This makes it a popular choice, as you can swipe to control your phone without sacrificing screen real estate. Whichever you prefer, you can select it by navigating to Settings > Display > Navigation mode.
4. Choose a custom launcher (or stick with the default)
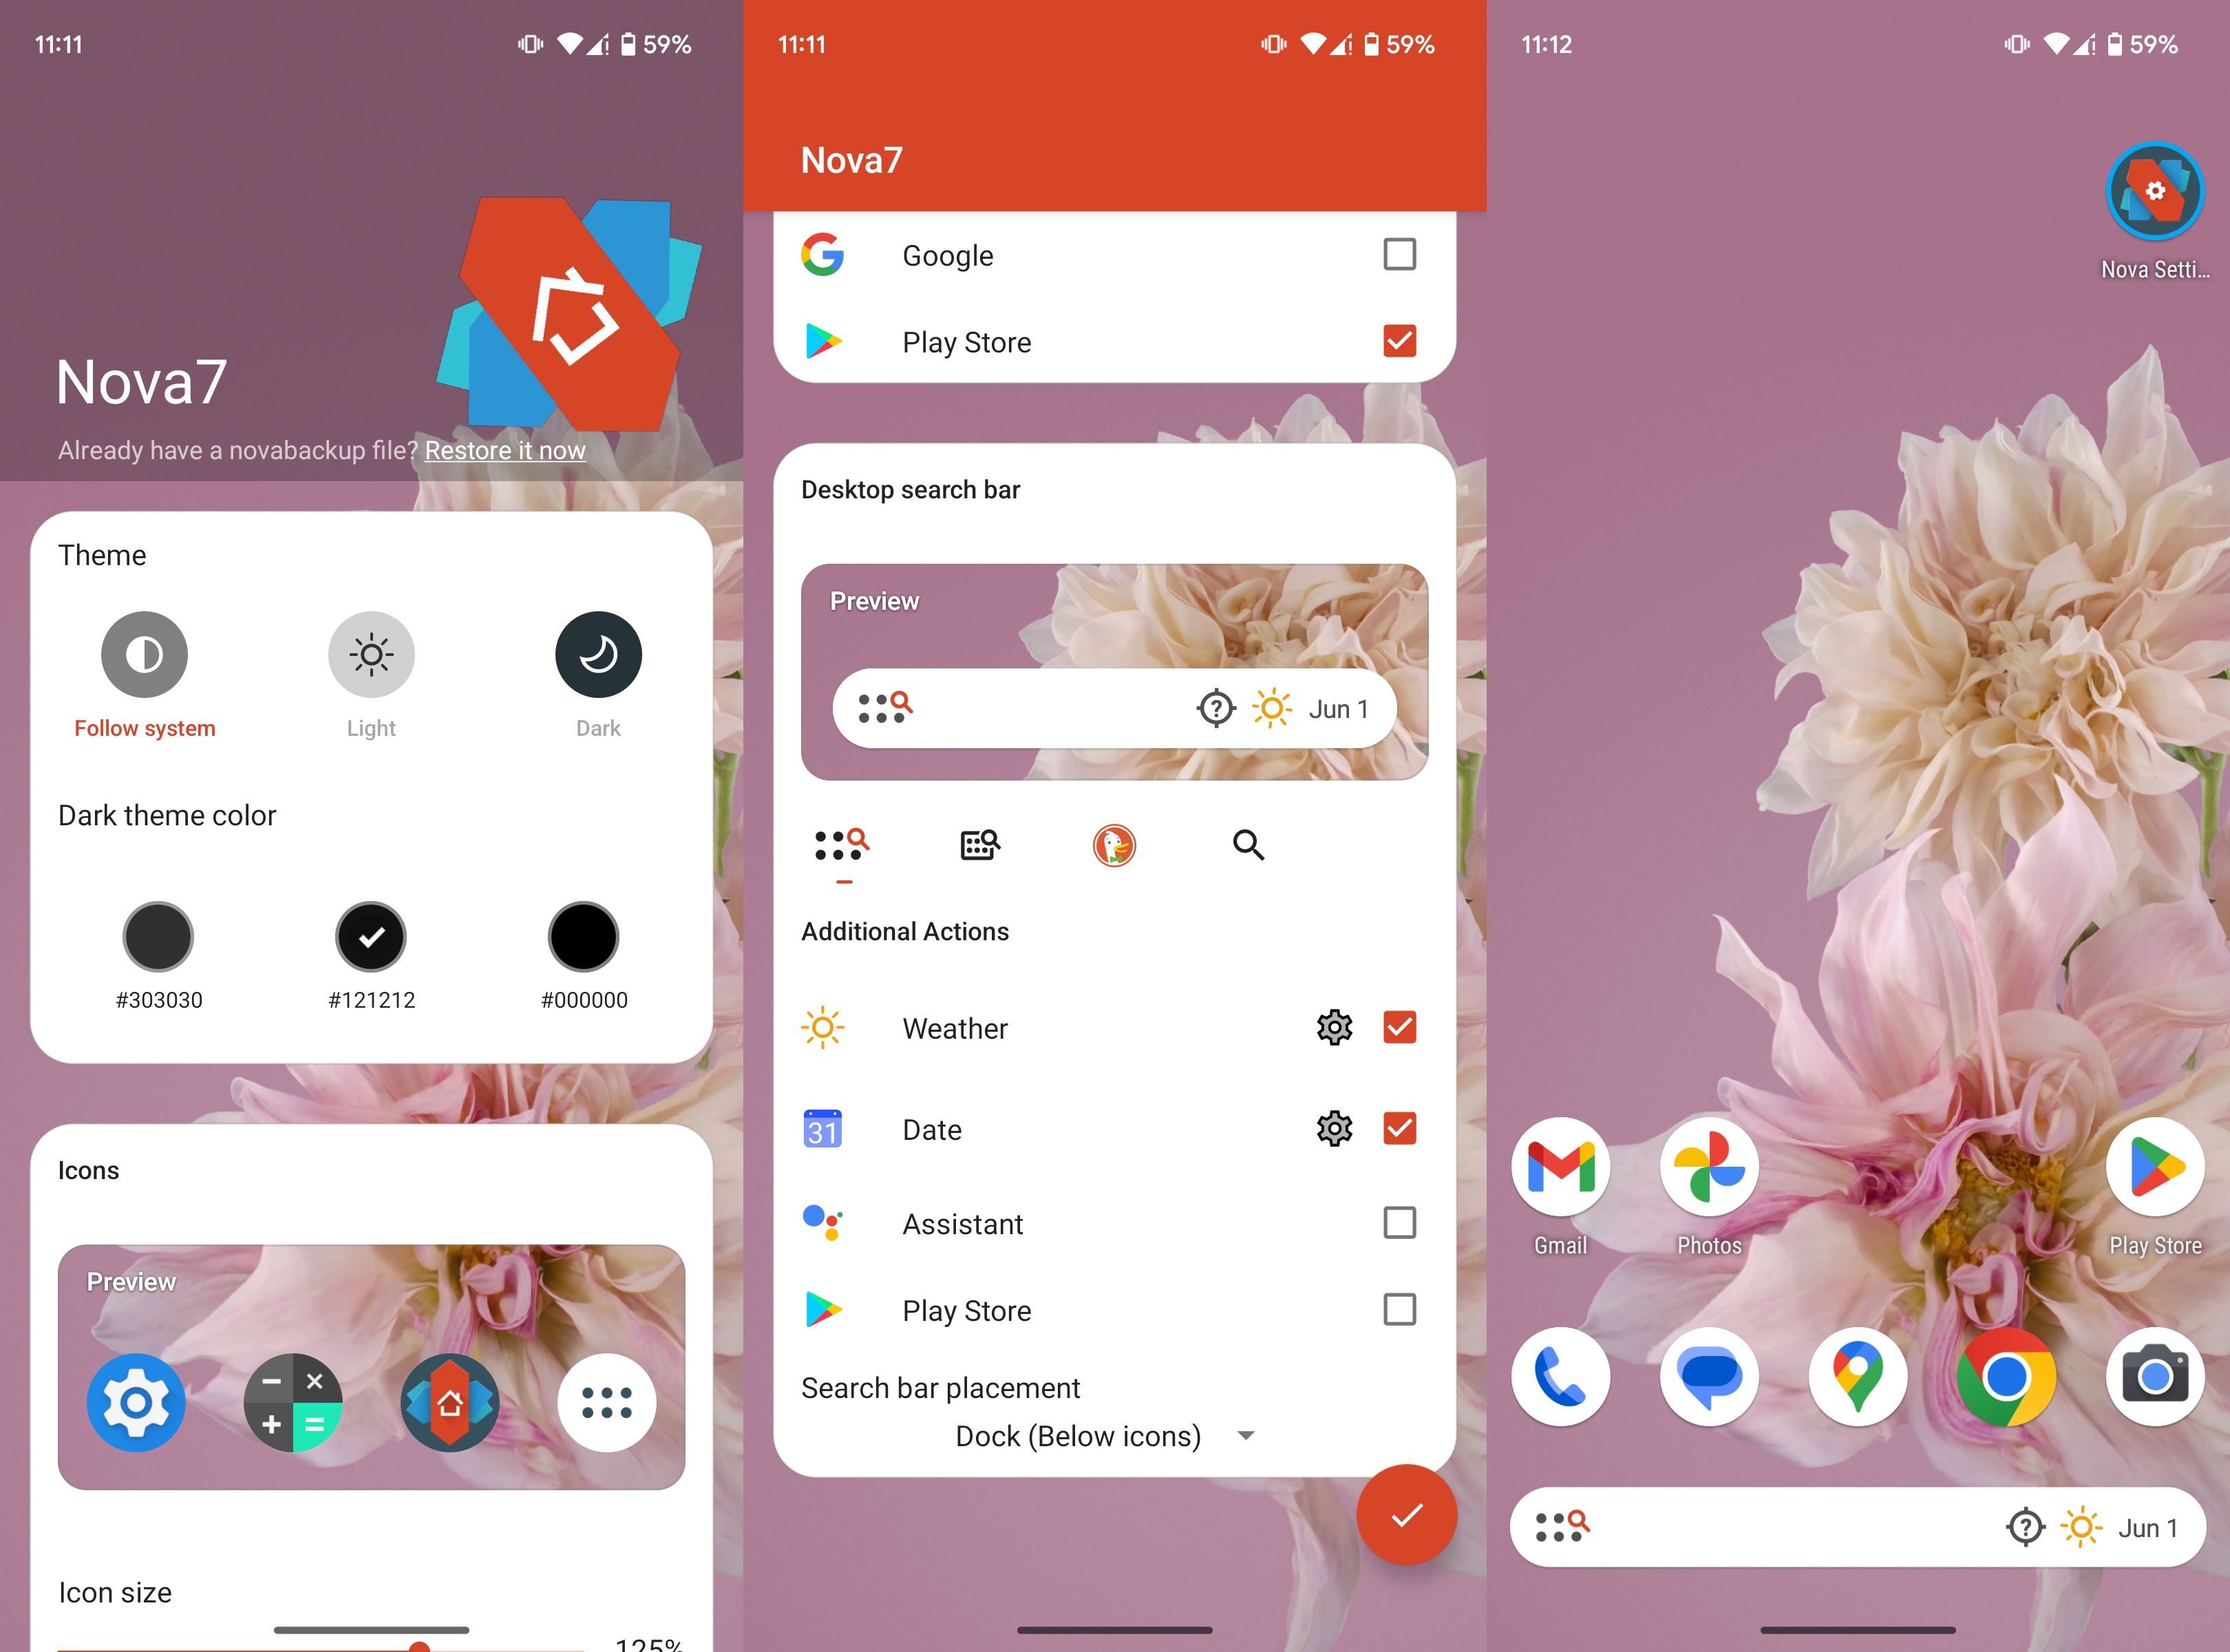
Now that stock Android skins are mature, third-party launchers aren’t as popular as they once were. However, one of the perks of using an Android phone is the ability to replace or tweak your launcher. To do so, download a launcher from the Google Play store and make it your default launcher app in settings. Or, you can modify your default launcher, like by tweaking the At a Glance widget in Pixel Launcher.
5. Get started with Digital Wellbeing
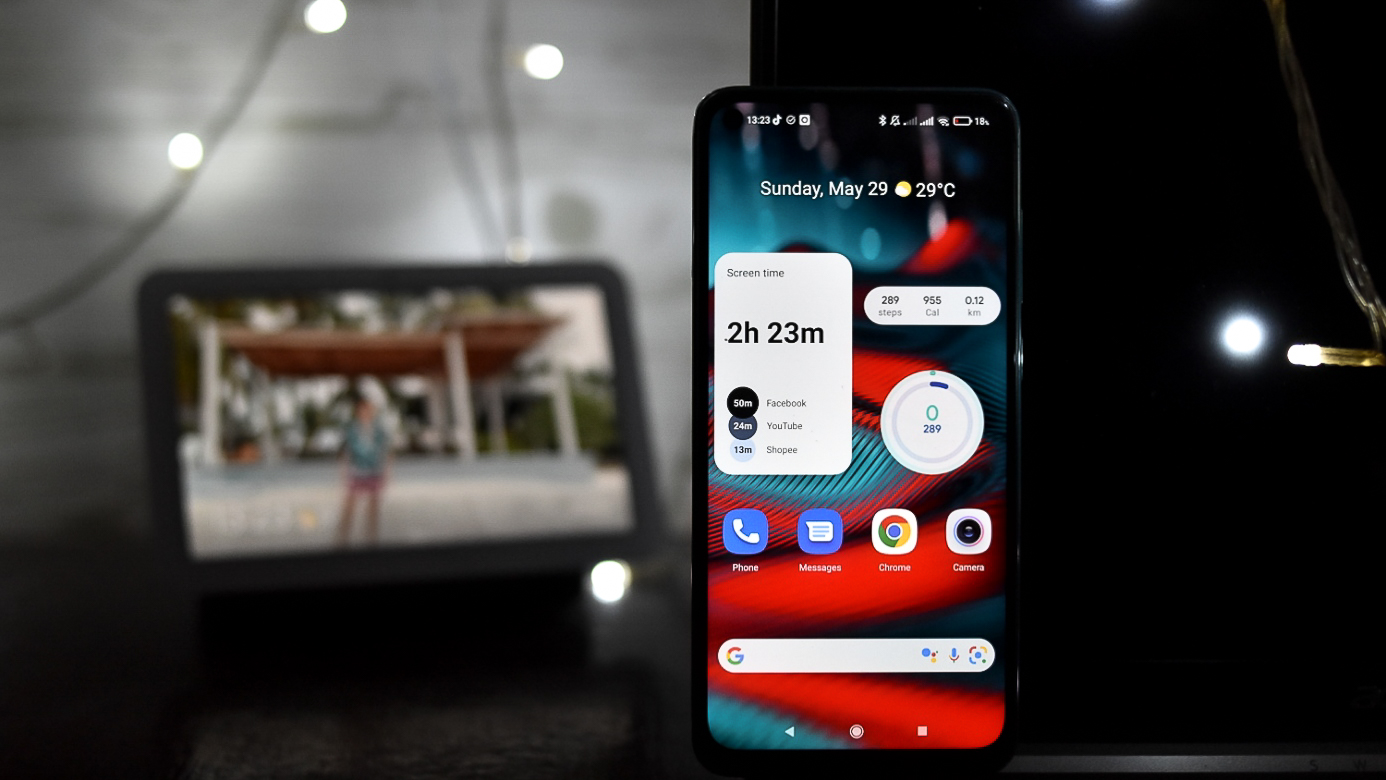
Looking to curb your screen time? Give Digital Wellbeing a try. It’s a suite of Android features that will help you stay in the moment and improve your mindfulness. You can set up a Focus mode to tune out unwanted notifications, set screen time limits or get “nudges” when you’re using an app for too long, or use Heads Up to be reminded about safety when using your phone while walking. However you use Digital Wellbeing, it’s a good idea to explore its features before letting your Android phone’s screen time get out of hand.
6. Customize your always-on display settings
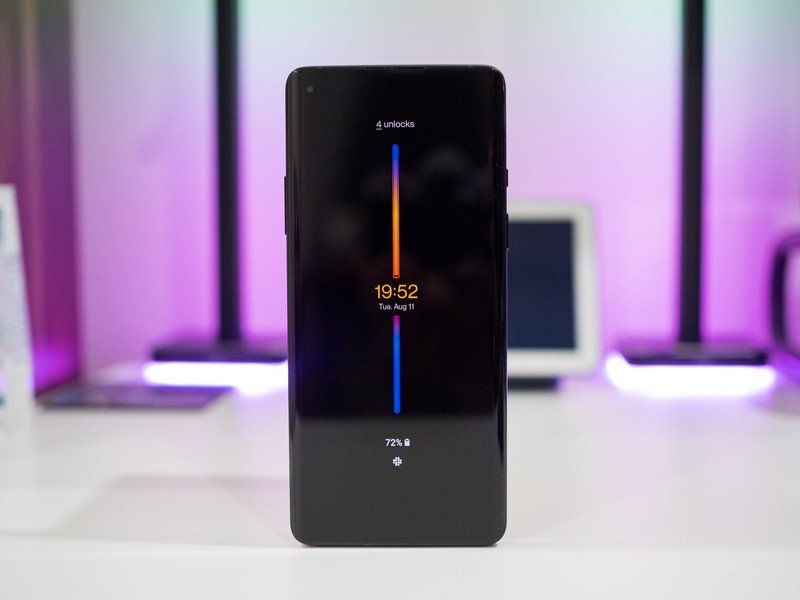
Many of the best Android phones include an always-on display mode, which shows key information — like time, date, and notification badges — on the lock screen when it’s turned off. The exact options available will depend on your phone’s OEM, but there are usually ways to tweak your always-on display. For starters, all Android phone makers with an AOD option will let you turn it off, which will help save battery. Otherwise, you can set AOD schedules and determine what appears on your lock screen in your display settings menu.
7. Set up auto-deletion for OTPs
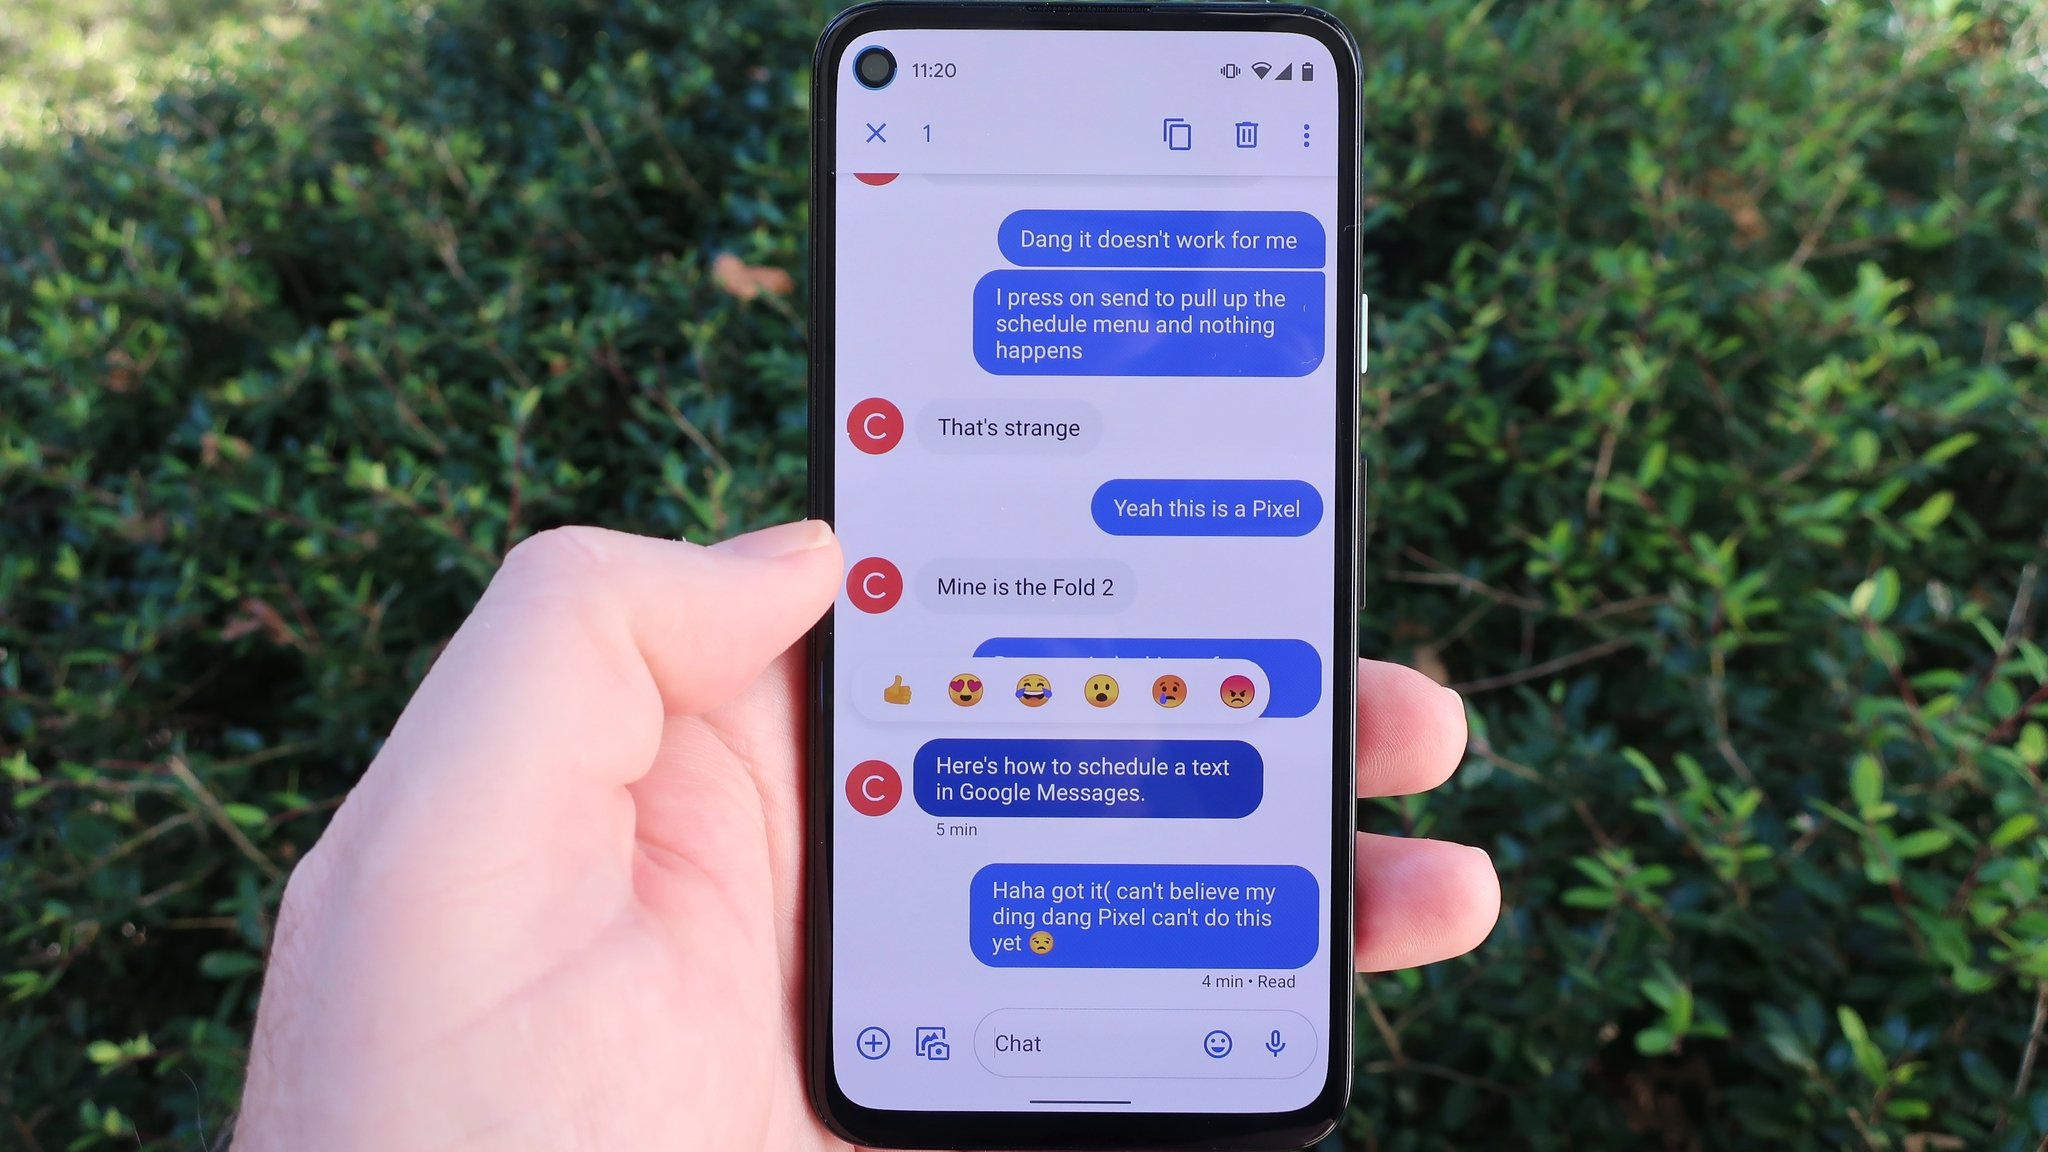
If your Android phone has Google Message set as its default SMS app, there’s a useful feature you should enable. (If Google Messages isn’t the default, you can install it manually from the Google Play Store and set it as the default SMS app in Settings). It will automatically delete one-time passcodes after 24 hours, and it’ll help keep your chats organized.
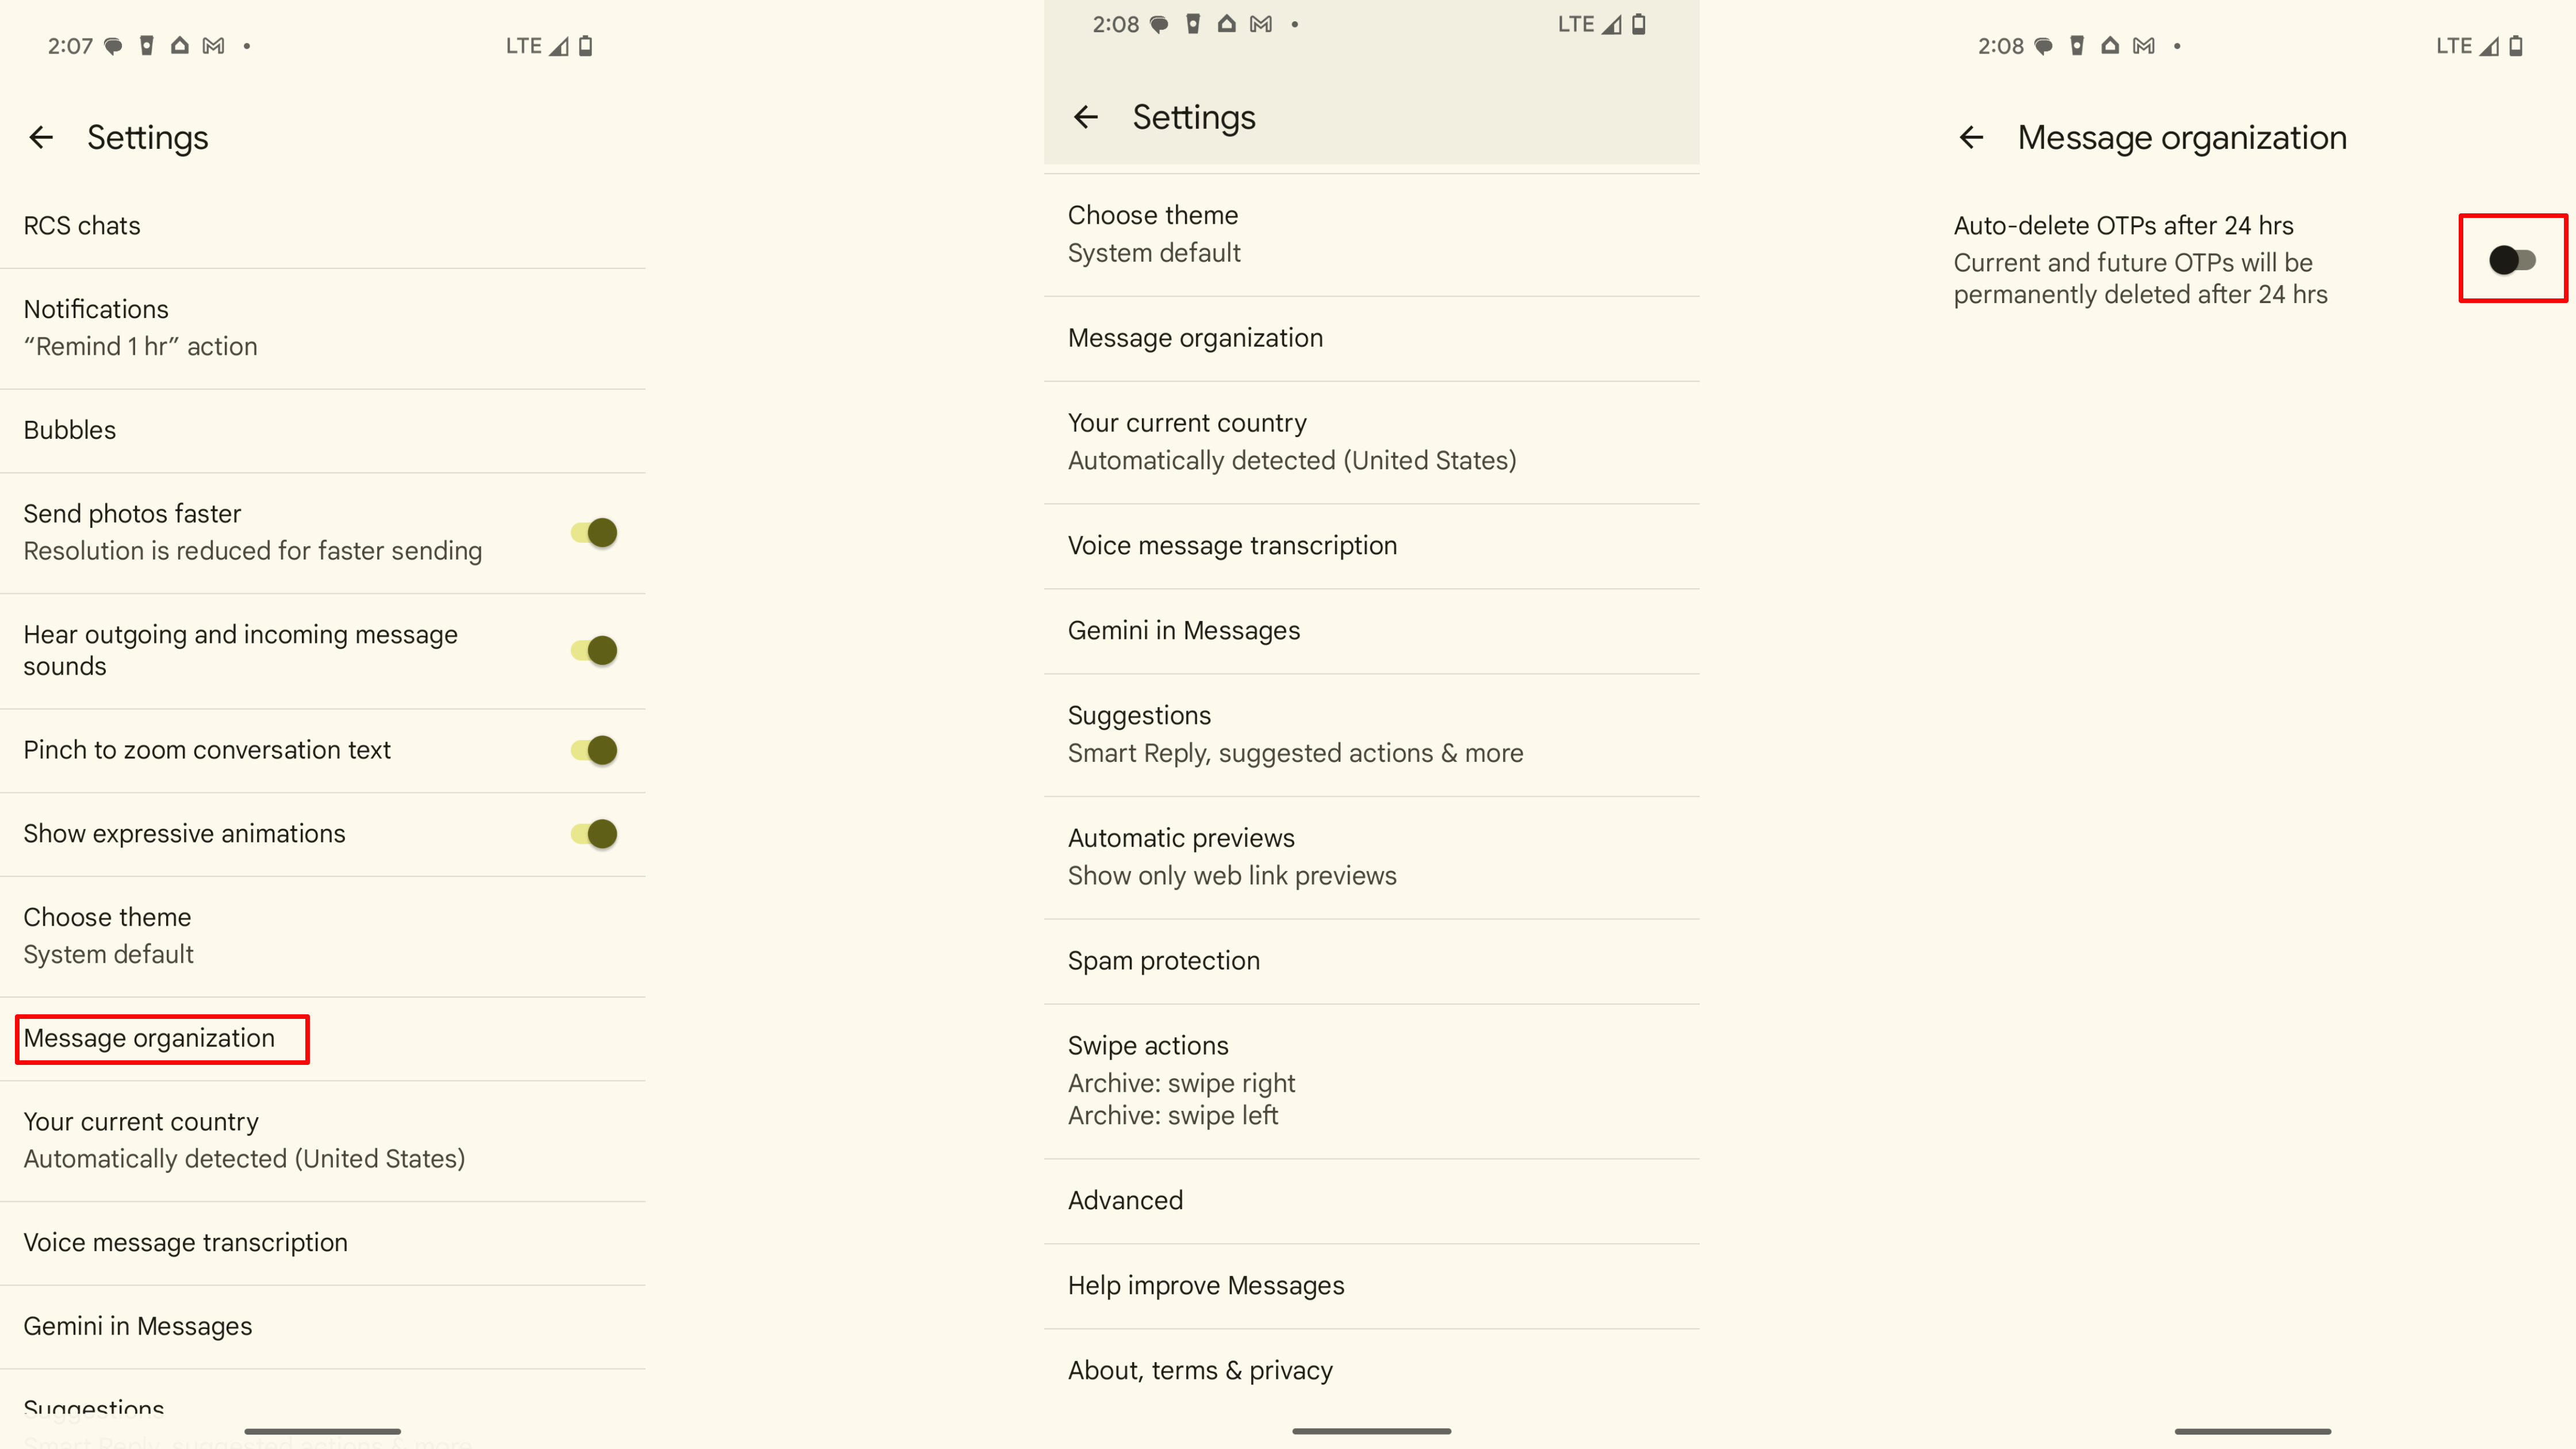
One-time passcodes are, as the name suggests, only good for one-time use. They’re useless after a few minutes, and that’s why Google Messages can delete them for you automatically. Flipping this toggle in Google Messages settings is a must-do trick for any new Android user.
8. Start using Emergency SOS and add your medical info
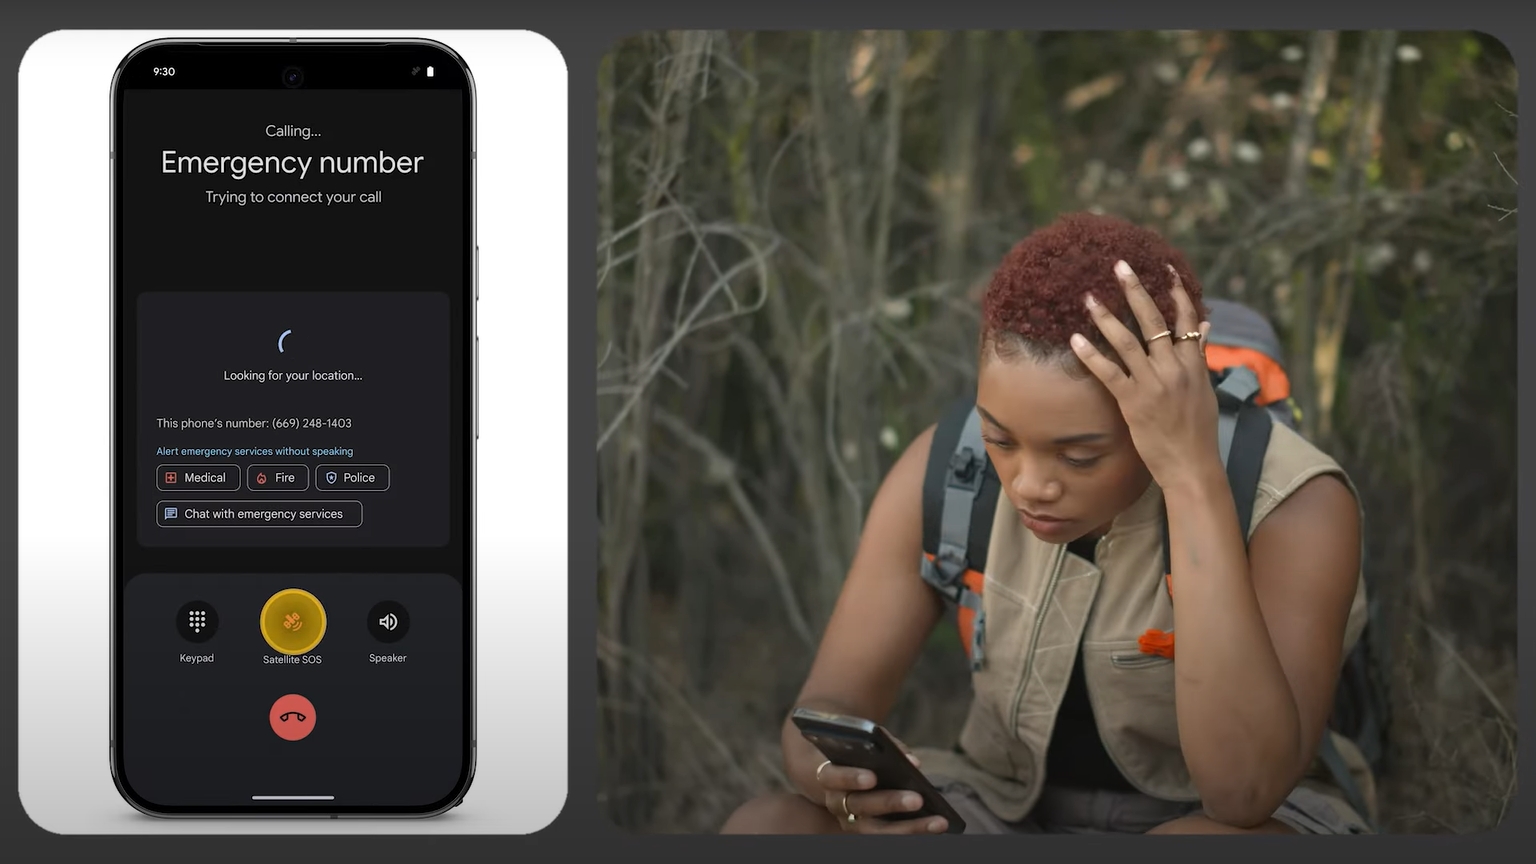
Android is full of crucial health and safety features, like Emergency SOS and Medical information. These will help you get help in the case of an emergency, and provide first responders with important information about you and your health. These will all be located in the Safety & emergency tab of stock Android.
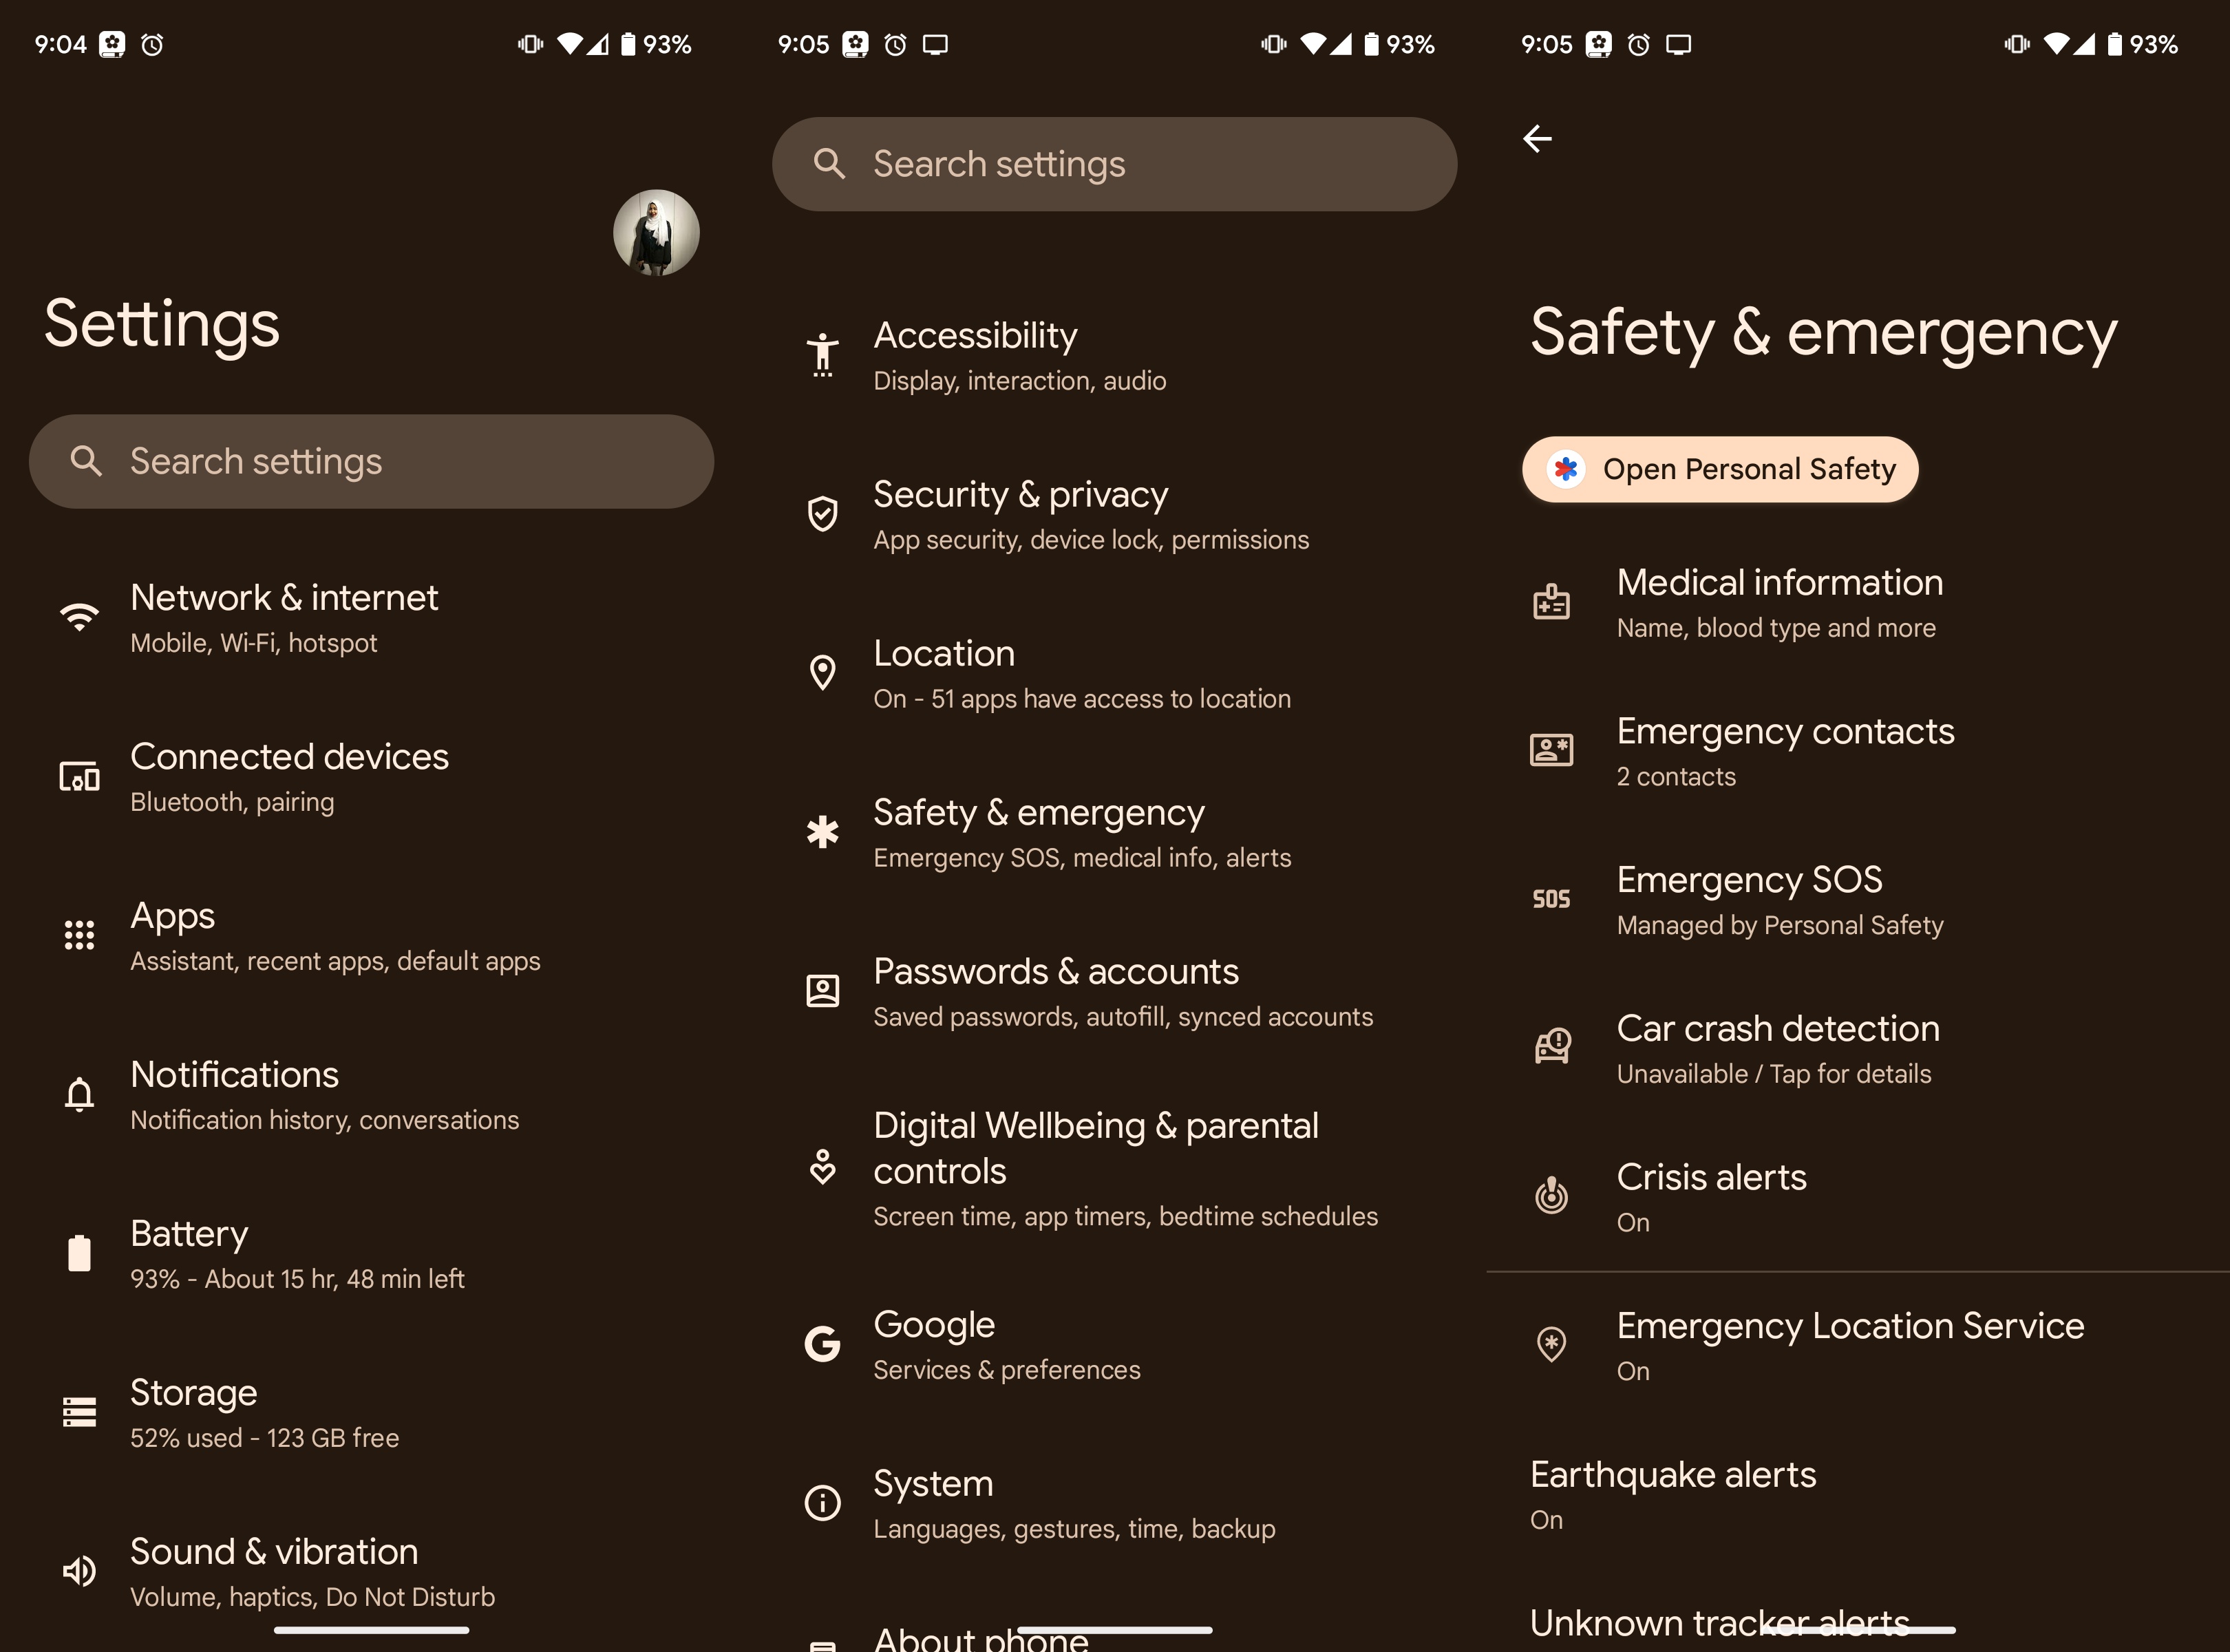
From there, you will see a handful of options that are worth exploring, including Medical info. These are tools you hope never need to be used, but could be invaluable if you ever need them.
9. Update your phone and download apps
After you’ve completed the initial setup process, it’s time to update your software. Most new Android phones won’t arrive with Android 15 out of the box, so they’ll need an update. Navigate to Settings > Software update to check if there’s a newer software version available, and follow the on-screen prompts to complete the update. Depending on your smartphone, you may have already updated to Android 15 during the initial setup process.
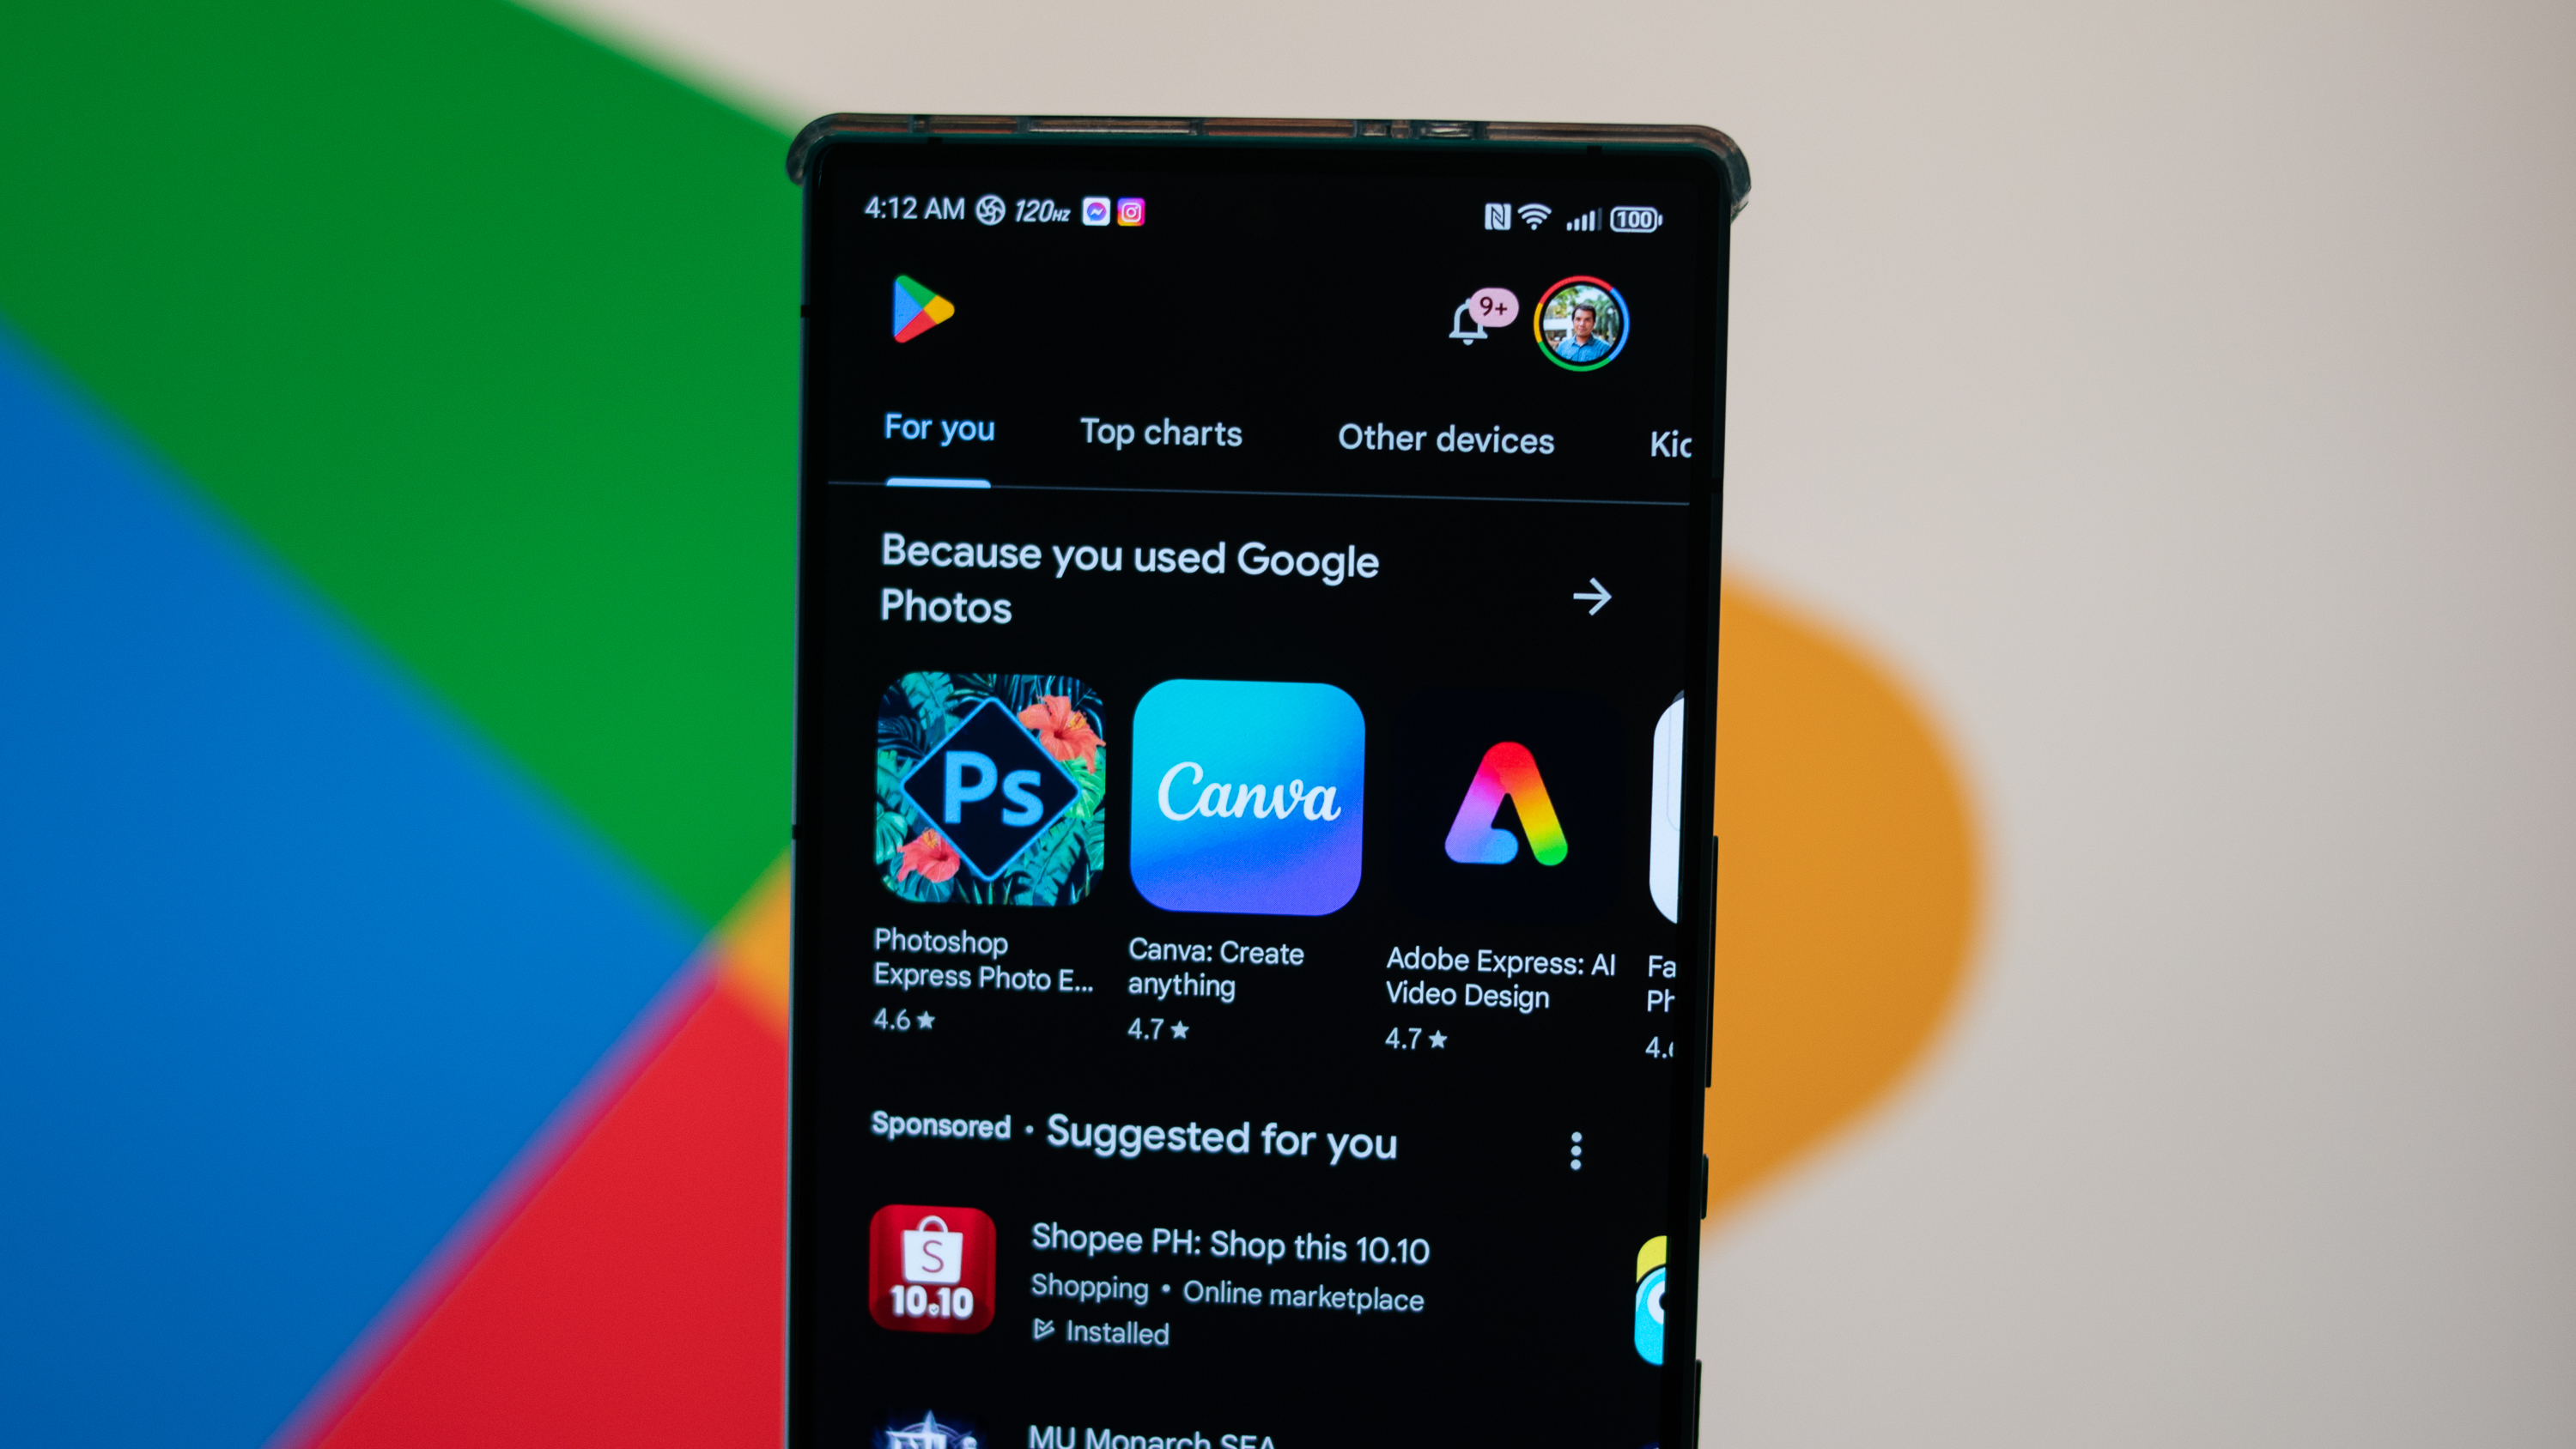
Once that’s done, you can log into the Google Play Store with your Google account and download all your previously-installed apps to your new device.
10. Link your phone to a PC with Microsoft Phone Link
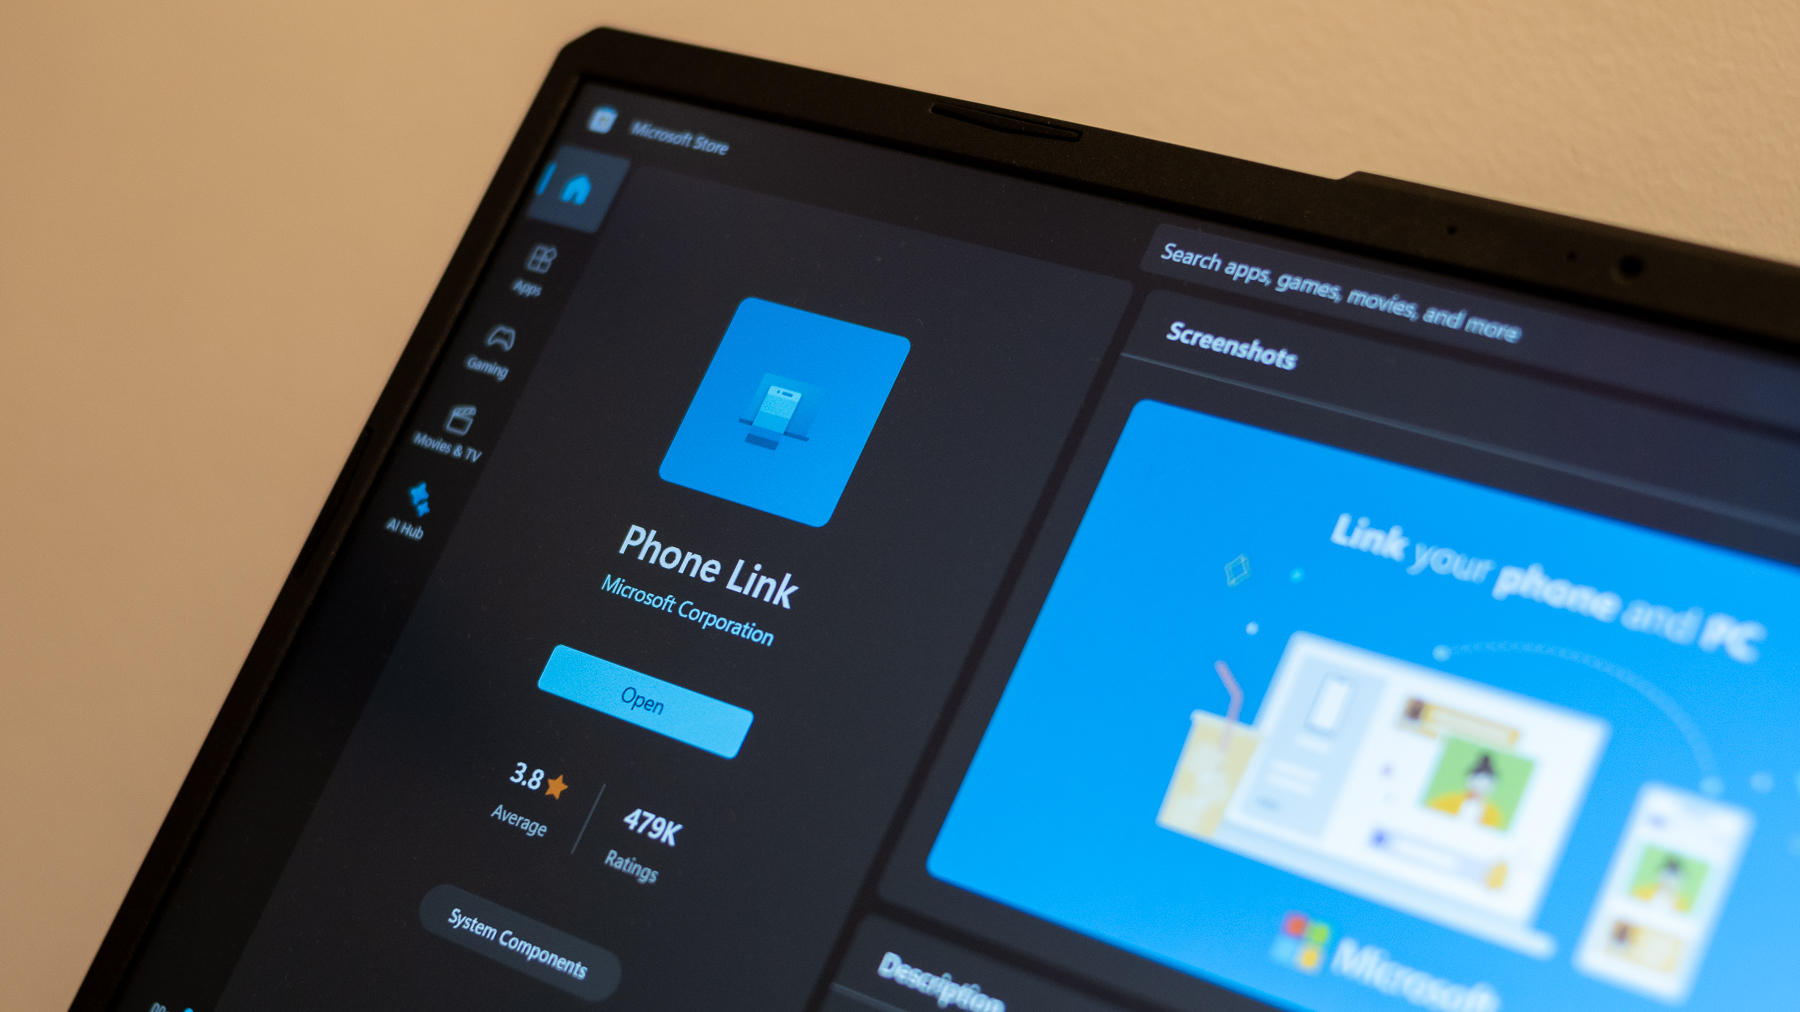
We talk a lot about the integration between iPhones and Macs in the Apple ecosystem, but we don’t talk enough about the integration between Android phones and Windows PCs. That’s right — you can link your new Android phone to your computer to send and receive texts from your PC, make calls, share photos and files, mirror and remotely control your phone, and much more. It’s all done via the Microsoft Phone Link app on Windows 11 and the Link to Windows app on Android. It’s certainly worth taking a few minutes to set up, and we have a full guide explaining how here.
Now, you should have a good starting point to begin using your new Android phone. What’s next? If you’re still itching to try more things, we recommend diving into your phone’s settings menu. We bet there will be a bunch of options there that you probably didn’t even know existed. After that, scour the Google Play Store for the best Android apps.
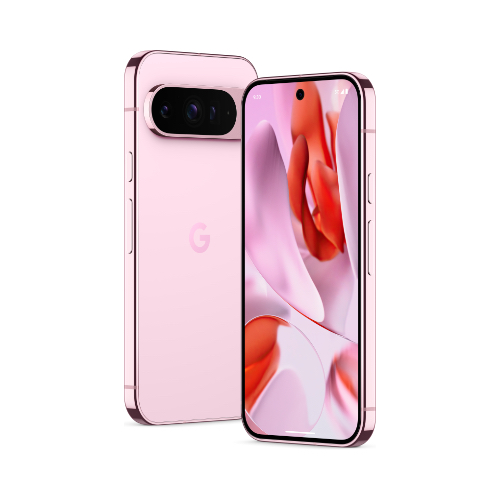
The best Android phone you can buy
If this list inspired you to get a new Android phone, the Pixel 9 Pro is an excellent choice. It has fantastic display and camera hardware, the Tensor G4 processor, and a ton of AI features.
